
Our first rig - a squash & stretch ball#
0. Foreword#
In this article you’ll learn:
- The importance of ball exercises for learning animation
- Basic idea on what Ball Rig consist of
- Learn common slang for some controller types
- Understand what is happening in the code of “stretch” modifiers in popular programs
1. Why is ball important?#
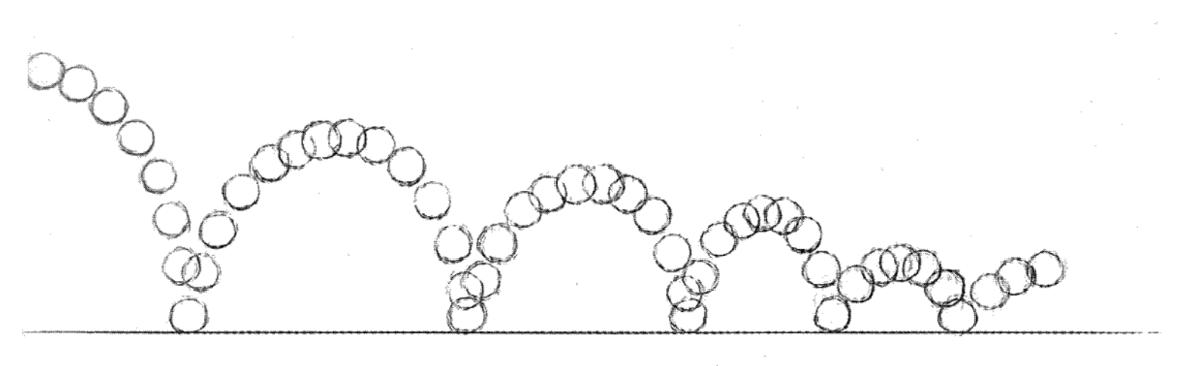
Whether you’re just starting your animation journey, study the craft, or you’re a seasoned animation veteran - the foundation of everything you know about animation starts with a ball.
If we take a cue at Richard William’s The Animator’s Survival Kit, the first chapter titled IT’S ALL IN THE TIMING AND THE SPACING - delves into how we use these two terms to understand the basics of any motion.
I’ll never forget the image of this big Norwegian American sitting in the golden twilight, extending his long arms and spatula hands saying… «The bouncing ball says it all»
– R. Williams “The Animators Survival Kit”
That’s why I want my first post to be dedicated to building a proper ball rig - a foundation upon one can explore basics of spacing, timing and squash & stretch principles. Additionally, we’ll peek under the hood of rigging mesh that can preserve it’s volume while being scaled.
Of course, in 3D animation there are two main groups of users: Autodesk Maya and blender. I’ll try to explain the ideas in a software-agnostic manner. However, there will be chapters dedicated to one software, but I’m going to write every tutorial for both sofwares - ensuring noone feels left out.
I’ll be using some scripts along the way, presented like this:
Example - so you can install it yourself and follow along.
Furthermore, I’ll include rigs created in the tutorials - fully functional and suitable for use as foundational animation tutorials. They will be provided totally free of charge and licensed under GPL v3.0.
If you’re interested in delving into the technical aspects of animation, let’s get started!
3. What is actually squash & stretch?#
You’re probably familiar with the concept of squashing and stretching - it seems deceptively simple. When we squash a water balloon, the water inside pushes the sides, giving it a pancake-like appearance. Upon release, it springs back to its more natural shape, and if thrown - it stretches in the air before squashing upon impact.
Disney’s Nine Old Men identified squashing and stretching as one of the most crucial principles for creating visually appealing animation. It holds such significance that they designate dit as the the #1 principle in their 12 Principles of Animation. Understanding this principle is a cornerstone for today’s animators, whether they’re sketching frames or manipulating a complex humanoid body. Accounting for squash and stretch is essential to achieving the elusive illusion of life.
The mathematical explanation#
Let’s start by eating the frog. In mathematical terms, we’ll consider a sphere with dimensions of x, y and z and a volume V1. We will then manipulate it by multiplying by n in one direction and by \(\frac{1}{\sqrt{n}}\) in the other directions. This manipulation aims to achieve a new volume V2 that remains equal to V1.
\(\text{Volume} = x \cdot y \cdot z = n \cdot y \cdot \left(\frac{x}{\sqrt{n}}\right) \cdot \left(\frac{z}{\sqrt{n}}\right)\)
Where: x, y, z - our sphere transform values
n - the amount of change along we add, in this case along Y axis
Rigging explanation#
When it comes to rigging, achieving a volume preservation effect can be approached in various ways based on the intended use and desired outcome.
Those of you who transition to animation from modelling, the first technique that may come to mind is the Lattice Deformer.
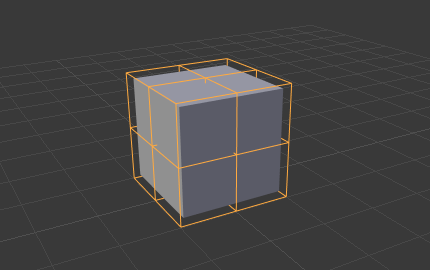
Lattice is a deformer present both in blender and Maya, commonly used for applying deformation. However, for our purposes where a deformation cage can be constrained and controlled, it might not be the most versatile method for creating mesh deformations. Despite encountering numerous YouTube tutorials utilizing such approach, I won’t be delving into this method in the upcoming ball rig tutorials.
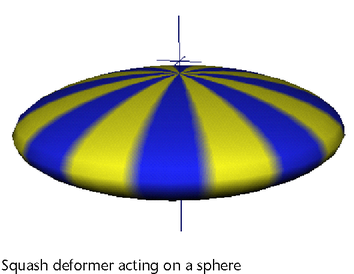
Second method, more aligned with the rigging tools themselves, involves using Stretch To Constraint (in blender)/ Squash Deformer (in Maya). These are off-the-shelf features that can significantly simplify construction of said mechanism in rigging. However, they might have limitations in more advanced setups.
But how does it work under the hood?
The fundamental concept behind volume-preservating squash & stretch is joint scaling. When we stretch an object, it’s joint (or chain of joints) undergoes scaling. Of course when it squashes, the chain naturally scales too. This scaling can be applied uniformly along all axes - providing full-scaling of the rig or selectively along specific axes. To mimic the simultaneous change if onther axes, we can use the Volume ratio presented before.
Let’s try this example.
To illustrate this, let’s assume we have an object whose transforms are (x, y, z).
We can stretch the bone by vector \(\vec{v}\) = [0, 1, 0] resulting in new transform:
(x, y+1, z)
By knowing the new value of y transform, we can calculate n.
To sell the effect of stretching, we need to scale the same object in other axes to achieve the same volume. To achieve that, we’ll use the formula I’ve written about before.
When we scale object in y axis by n, we’ll multiply x and z scale by \(\frac{1}{\sqrt{n}}\) - to preserve the volume of the object.
In Maya’s Rigging Node Editor, it is possible to connect x, y and z direclty with multiplyDivide node, to multiply these channels accordingly. This method is going to achieve a good squash & stretch that is going to work on all type of bone chains - it’s extremly useful for humanoid skeleton rigs with cartoon features!
Squash & Stretch in video games#
Squash & Stretch isn’t something you’ll often encounter in videogames, at least now by default.
Unreal Engine, for instance, doesn’t export scale of deformation bones at all! This might prompt one simple question - why bother?. The reason behind this decision is quite substantial. Achieving a good looking, volume-preserving squash & stretch of Skeletal Mesh entails calculating skinning deformations every frame, making it one of the most resource-hungry tasks for player’s CPU. While enabling bone scaling during mesh import is an option to preserve these effects, it’s typically not the default setting due to performance problems. In many cases, this decision alligns with overall optimization strategies - it’s going to be used only when the game really depends on it.
Given the heavy optimization implications, there’are other techniques that might mimic the feeling of squashing and stretching in video games. These often include translations of the skeleton, mostly adjustments to arms and legs. Let’s consider jumping - by translating parts of skeleton one can achieve a stronger, more dynamic pose, for example by leaving the legs for a few frames on the ground longer only to squash them together (to their original position) nearing the apex of the jump loop. Such technique of translation can be observed in World of Warcraft’s Pandaren Jump.

These are just a few examples of the different tricks animators employ to create the illusion of life, even though it may not involve the real calculated volume-preserving squash & stretch. After all, the ultimate goal is to sell the viewer the best looking, lively performance withing the constraints of game performance.
3. How does a ball rig work?#
Mesh#
For this example I’ll be using a mesh with a checker texture, that you can download:
- For blender here
Skeleton#
In it’s simplest form, a ball skeleton consists of just one bone, where joints (Maya) / head and tail of the bone (blender) are touching the sphere’s base and end. These hold whole skinning information, making it an ideal object to use automatic skinning options for.
Controls#
Considering what animator might need to control in a ball rig, we might think of a few cases.
Every rig, at the top of it’s hierarchy has to have a root. It’s purpose is to hold information about the default space of the rig. It’s often represented by a variation of circles with arrows on the ground.
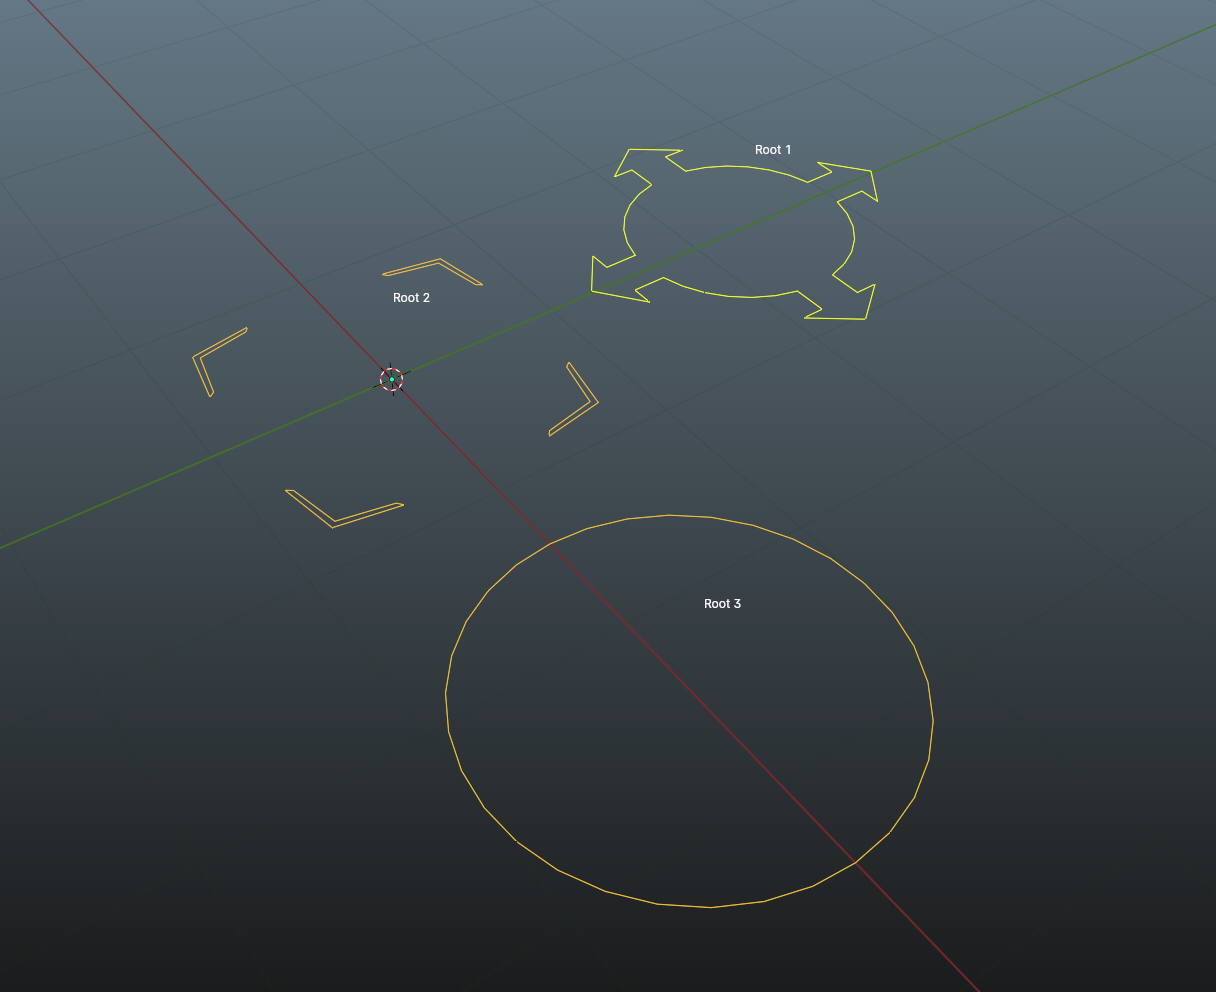
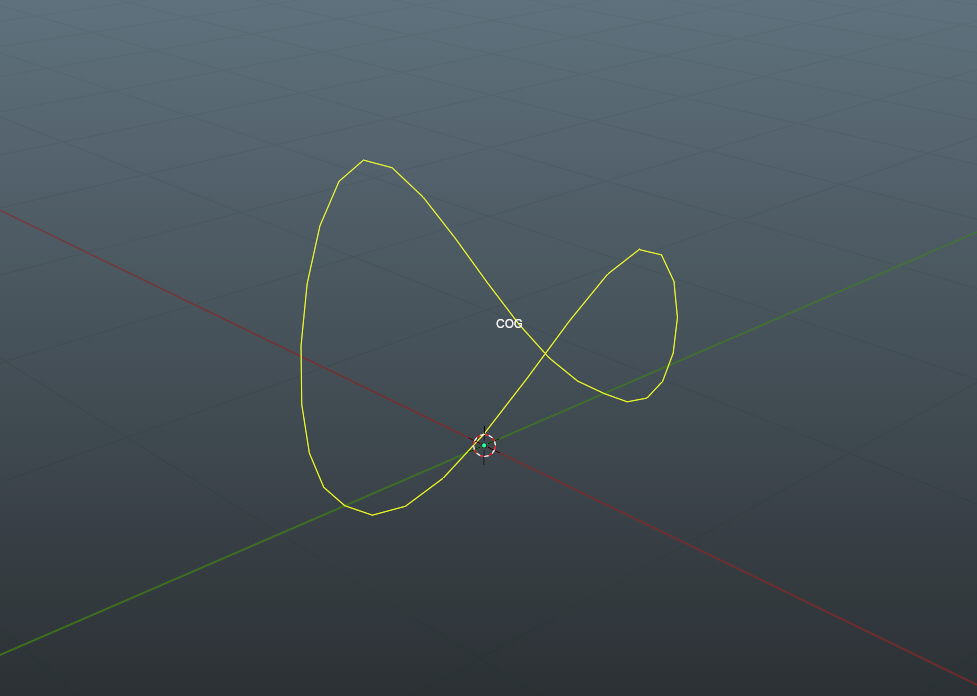
The next in hierarchy, overarching rest of the controllers is a bone called cog - or sometimes stylized as c.o.g (abbreviation for center of gravity). These might get a lot different shapes depending of the center of gravity shape. The most popular ones are circles and saddles, for the purpose of ball rig, we’ll use a big circle.
The hierarchy of the rest of controllers might differ depending on circumstances. In case of our ball rig, we’ll have a few controllers following a cog. First of them will be a rotor - our second level controller. In this case rotor will be working the same as the cog - it’ll let animators translate or rotate a mesh (unless we lock it) and it’s main purpose will be to split rotation and translation to avoid clutter in the timeline and graph editor. We’ll use a smaller circle for this controller.
The last type of controllers for this rig is going to be an auxilary controller that will let animator control the squash and stretch of the mesh - preferably from the top and botton. There is no one way to imagine general shape of these controllers - their shape are going to refer to their function. In our case it’s going to be a control that might move up and down, so something with a pointy end might be a good idea. We’ll talk more about specific shapes in the next chapters.
4. Closing Thoughts#
We explored the concept of squash and stretch, delving into its significance and mechanics. Our discussion included its importance in animation and various ways to mimic it when necessary. Additionally, we laid down the foundational theory for building a functional ball rig.
Armed with this knowledge, the upcoming articles will take a hands-on approach, applying the knowledge to create a working ball rig that you’ll be able to animate yourself. If you have any further questions of need assistance, dont hesitate to ask.
If you want to put the new knowledge to use - we’ll going to build the ball rig in blender in next article.
Happy rigging!